Why the Right Image in the Wrong Place Doesn't Work (one question fixes everything)
 Lyric Kinard
Learn how artists and educators can create images that stop the scroll, teach clearly, and save hours of wasted design time.
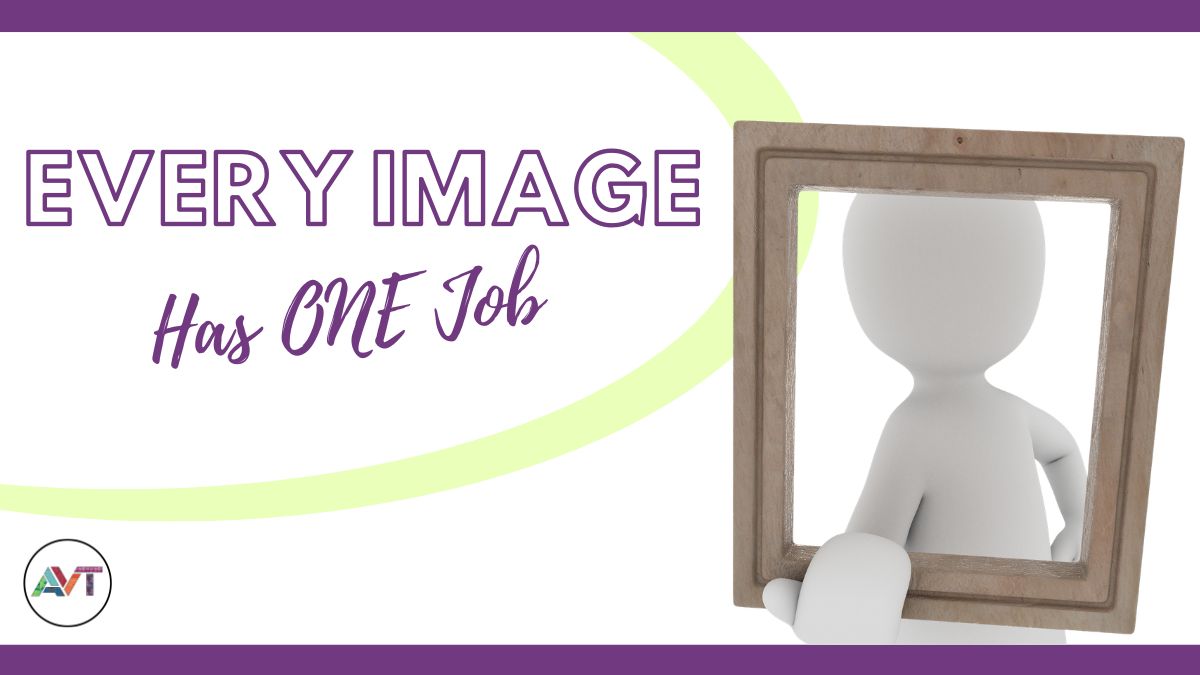
Every Image Has a Job to Do
As artists and creators, quilters, makers, painters, designers, we love the visual world. We care deeply about how our work looks. We want our social media to be beautiful, our websites to feel professional, our course sales pages to show off what we've made in the best light possible.
That love of the visual is one of our greatest strengths.
But it can also be a trap.
I can get lost spending hours tweaking and arranging and getting an image just right, without ever stopping to ask the most important question: what does this image actually need to do, and where is it going to live?
The Rabbit Hole Is Real

I know I'm not alone in this. I completely lose track of time. The font isn't quite right. The colors need adjusting. This element needs to move just a little to the left. And before I know it, I've spent an entire morning on something that needed twenty minutes.
We waste so much creative energy on things that don't matter as much as we think, like the perfect font, the exact brand color, the ideal layout, and then we never get started on the things that do matter. That energy belongs to our work. To our teaching. To our students. To the designs and courses and ideas that only we can create.
But here's the thing… good images DO matter. They matter a lot.
The goal isn't to care less about visuals. The goal is to care about the right things, in the right order, and to build systems that let you create images that actually work without burning yourself out in the process.
One Question That Changes Everything
Before you open Canva, before you pick a photo, before you choose a font ask yourself this:
What is the single job this image needs to do right now?
That's it.
That one question will save you more time and produce better results than any design trend or template collection ever will.
Because here is what most of us do instead: we try to make one image tell the entire story. We pack in all the information, all the beauty and context. Then we end up with something that tries to do everything and ends up doing nothing particularly well.
Every image has a job. And when you know the job, the right creative decisions become obvious.
The Hierarchy of Images
Think about it this way. Whether you are advertising a product, a design, or a course, your images work in a sequence. They have a hierarchy of things they need to do.
The first image someone sees needs to stop them.
That's it. That is its entire job. It needs to be eye-catching enough that someone slows their scroll. It needs to speak to someone who wasn't even actively looking for it.
It does not need to tell the whole story.
It does not need to explain everything.
It just needs to make someone pause and think: what is that?
Here's where a lot of us go wrong. We get caught up in wanting that first image to tell the entire story. We want it to show the finished project, explain the technique, communicate the value, and look beautiful all at the same time.
But on that particular page, in that particular moment, the image simply needs to be eye-catching enough to get somebody to click.
That's all. The rest of the story lives on the next page.
The second image, once you've earned that click, needs to pull them in further.
This image doesn't need to tell the whole story either. It needs to say: this is something that will solve your problem.
It's a bridge. It takes someone from curious to interested. It gives them just enough to want more.
The deeper images are where you teach and tell.
Once someone is genuinely engaged, once they're on your sales page, inside your course, deep in your content - that's where your full, detailed, story-telling images live.
These images give real information. They show process. They answer questions. They help a student understand something specific.
These are the images that teach.
Where Each Image Lives Matters
The same image almost never works in every place.
One of the most important things to understand is that you often can't control where your first image appears or how big it will be when someone sees it.
That first image might be one of ten thumbnails on a phone screen, each one barely an inch wide. If you've packed it full of text and details and layers of information nobody is going to be able to read any of it.
All that work is invisible.
Think about a conference or marketplace page where your workshop sits alongside six other workshops, all displayed as the same size square image. How do you get someone to stop and click on yours?
Not by telling the whole story.
By being the most compelling thing in that row.
A YouTube thumbnail gets viewed at tiny size on a phone by someone who is scrolling fast and owes you nothing. Three to five words maximum. One strong visual. One clear reason to click.
That's it.
A Pinterest image functions more like a search result. People come to Pinterest looking for something specific, so your image needs a text overlay that answers what they typed.
It needs to work like a mini poster.
A social media feed post needs to stop a scroll on a phone, often while someone is half paying attention to something else entirely.
An image inside your course, though? That viewer is sitting at a computer or a tablet, focused, having already paid and shown up.
They don't need to be stopped or convinced.
They need clarity.
They need to be able to see the detail in your hands, the step in the process, the specific thing you're teaching right now.
Same creator. Same course. Completely different jobs.
The Workflow That Saves You Time
Here's the practical gift inside all of this: once you understand what images you need and where they're going to live, you can build a workflow that makes creating them fast and efficient.

If you know you need the same core image in three different formats, such as a square for Instagram, a horizontal for YouTube, and a tall version for Pinterest, you do them all at once.
Same session. Same creative energy. Same source material.
Resize and adjust rather than starting from scratch three separate times.
Build templates for the image types you use repeatedly.
Your YouTube thumbnail template.
Your course video thumbnail template.
Your Pinterest template.
Once they exist, the job becomes filling them in rather than designing from scratch every time.
Save your artistic energy for your work. For your teaching. For the things only you can make.
The images that support that work should have systems behind them, so you can make them well and move on.
The Test
Before you finalize any image, run it through these two questions:
What is the single job this image needs to do?
Can someone understand that within two seconds, at the size they'll actually see it?
If the answer to both is yes, you're done.
Stop tweaking.
Get out of Canva.
Go make something.
The goal was never perfect images.
The goal was images that stop the right people, build the right trust, teach clearly, and move someone one step closer to your work.
When you know the job, you know when it's done.
This month we're going deeper on all of this in the AVT membership.
I've put together a one-page reference checklist that covers every type of image in your teaching business, what job it's doing, and exactly what to include.
Download it below.
And if you want to work through this hands-on inside Canva, building real templates for your real courses, the Canva workshop opens June 15.
Learn more about the Canva workshop
Thoughts
If you've been spending more time tweaking graphics than making art, you're not alone.
The good news is that better images don't come from doing more. They come from understanding the job each image needs to do and building simple systems that support your work instead of draining your energy.
If this speaks to you, leave a comment, share it with another creative, or explore the checklist and workshop linked above.
Categories: : Monthly Theme